
This article describes the steps that should be followed when a DeMaSy upgrade is needed.
- First you should ensure that the settings that are used for upgrading DeMaSy are correctly set:
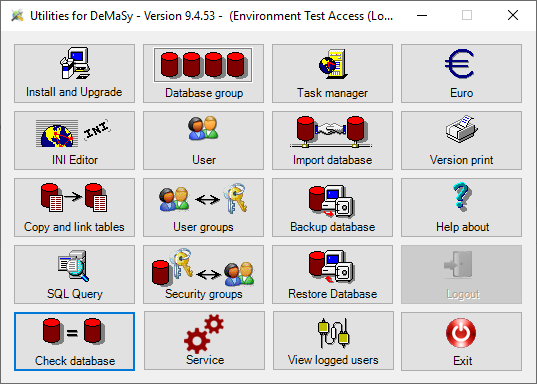
- Open the DeMaSy utilities and click on the INI Editor button:
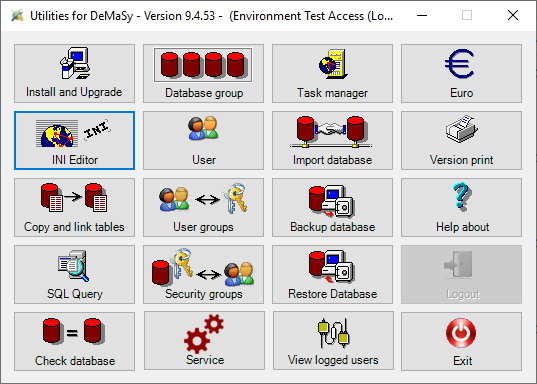
- Now your are on the INI Editor screen, go to the FTP tab:
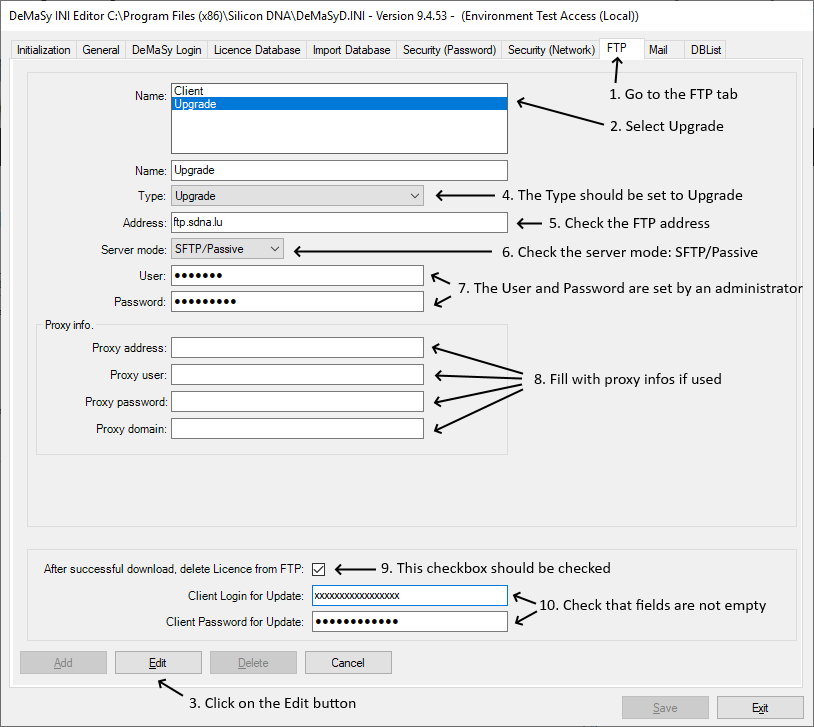
- You are now on the FTP tab of the INI Editor.
- In the Name list select Upgrade.
- If you want to change the settings click on the Edit button.
- The Type setting should be set to Upgrade.
- Check the FTP address that should be ftp.sdna.lu
- The server mode is set to SFTP/Passive.
- The User and the Password are not visible and are set by an administrator. Don’t change it.
- If you use a proxy server then the infos related to this proxy should be filled there.
- The Licence file should be deleted after a successfull download so the checkbox should remained checked.
- The Client Login & Password for Update fields are filled by the administrator, so please don’t change them.
- If you are in Edit mode then click on the Edit button to save your changes.
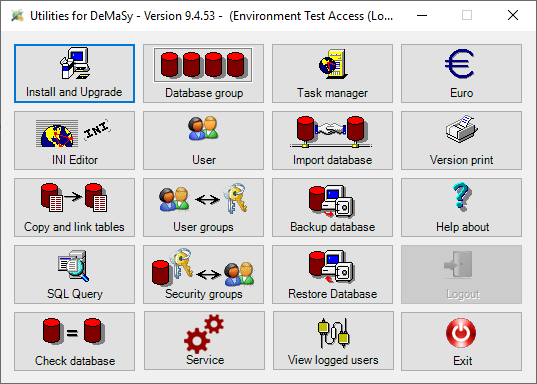
- Leave the INI Editor to go back to the Utilities main menu.
- Open the DeMaSy utilities and click on the INI Editor button:
- Now you are going to proceed to the download of the needed upgrade files
- On the Utilities main menu click on the Install/Upgrade button
- You are now on the Upgrade files tab
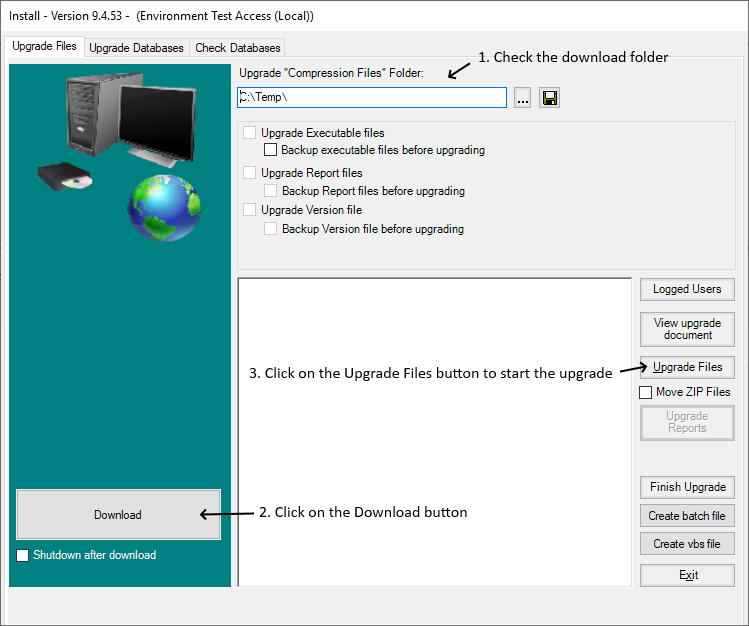
- Check the path of the download folder. This is the place where the upgrade files will be placed.
- Click on the Download button, now the upgrade files will be downloaded from the FTP server to the download folder.
- After the download is complete, click on the Upgrade Files button to start the upgrade.
- When the upgrade process is finished then the Utilities will restart and the focus will be given the the Upgrade Databases tab
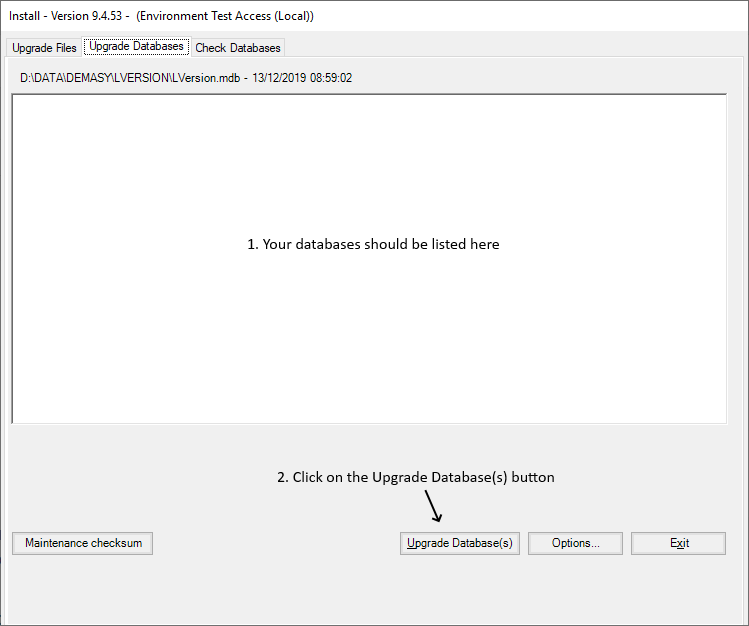
- Your databases should be listed in the window.
- Now click on the Upgrade Databases to start the process.
- On the Utilities main menu click on the Install/Upgrade button
- Now you will proceed to a database check
- Go back to the Utilities main menu and click on the Check databases button
- Now you are on the Check database screen
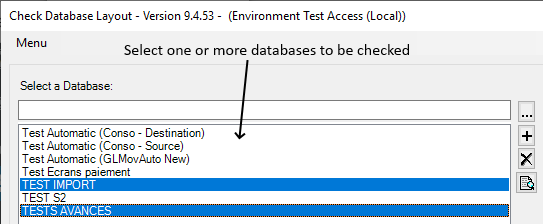
- In the databases list select the ones you want to check or click on the Plus button to select all of them.
- The default check options will be used so you don’t need to change them.
Simply click on the Check button to start the process.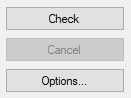
- During the database check, some messages may be displayed. Some of them are only informative (
 ), while others (
 ) should be considered and could require some actions. In such cases please contact your administrator or the DeMaSy help desk.
- Go back to the Utilities main menu and click on the Check databases button