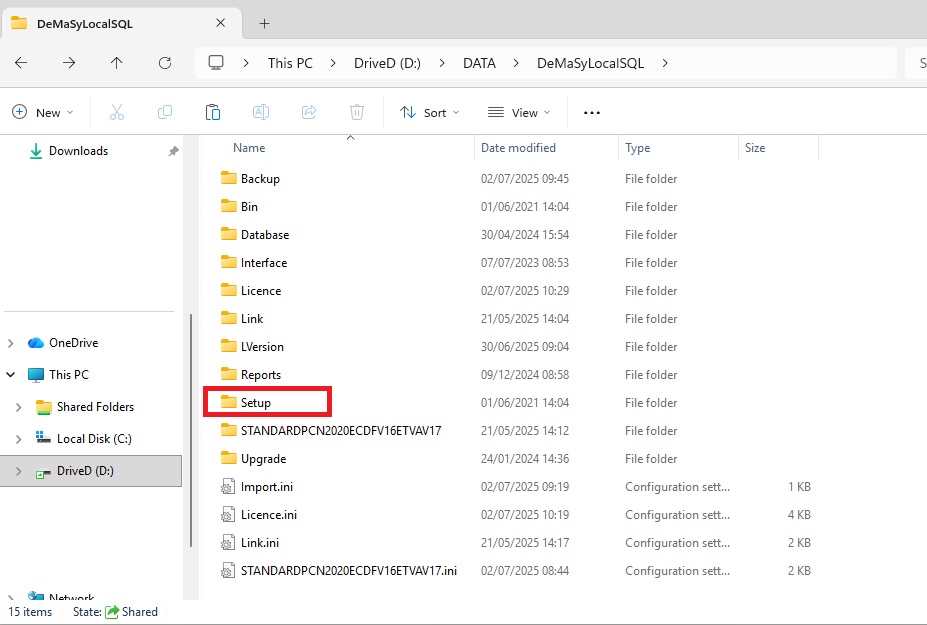
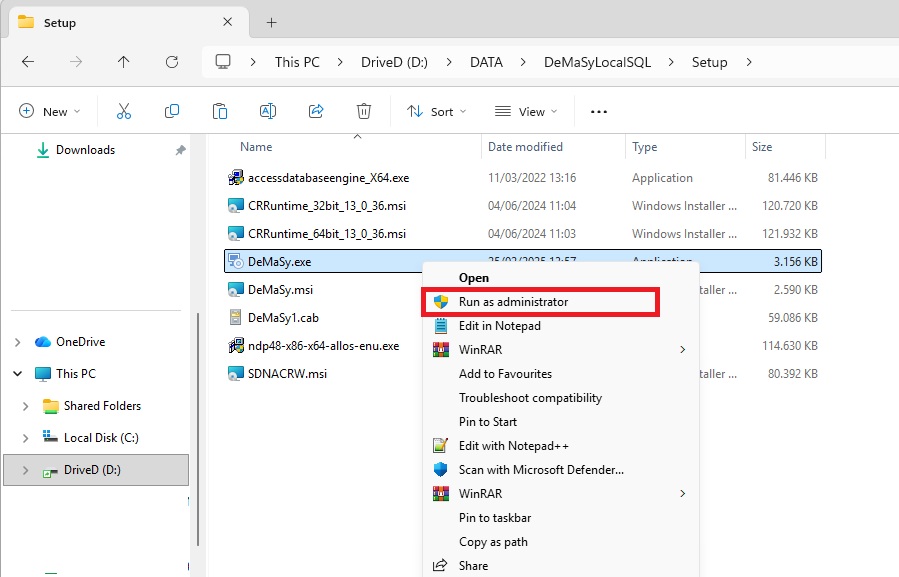
- Launch the DeMaSy.exe setup using “Run as administrator.” The files should be located in your DeMaSy shared folder (for example: **D:\DATA\DeMaSyLocalSQL**).
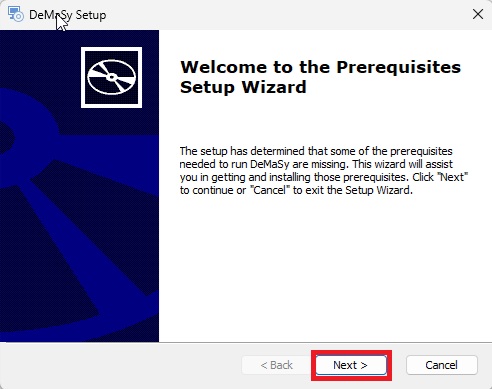
2. Click the “Next” button.
3. Keep all the preselected checkboxes as they are. If you already have Microsoft Office x64 installed on your computer, uncheck “Access Database Engine x64” and click “Next.”
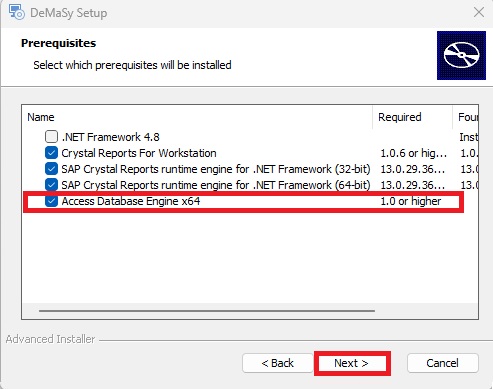
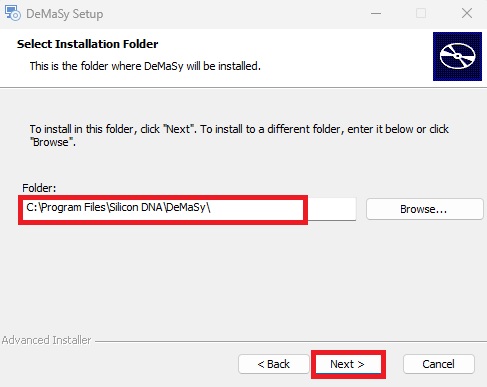
4. After the prerequisites have been installed, keep the default path (C:\Program Files\Silicon DNA\) and click “Next.”
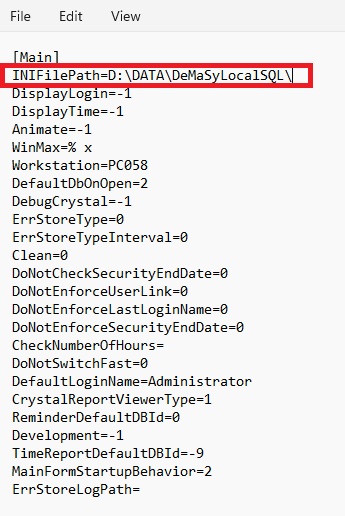
5. The installation will complete, and you will need to modify the DeMaSy.ini file located in the “C:\Program Files\Silicon DNA” folder.
Open the file and add the INIPATHFILE entry. In the example below, the path corresponds to my installation, but you must specify your own correct path.
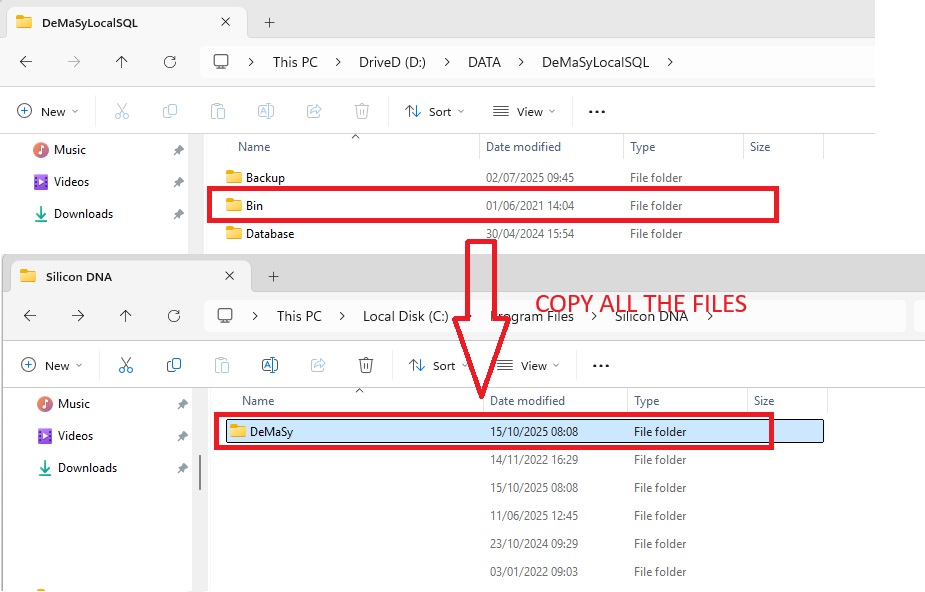
6. You need to copy the correct DeMaSy version from your environment to the local machine. The BIN folder is located in your shared directory. Copy all the files from the BIN folder to the DeMaSy folder in “C:\Program Files\Silicon DNA”.
7. You can launch DeMaSy after copying the files. The ODBC connections will be created automatically the first time you launch the application.
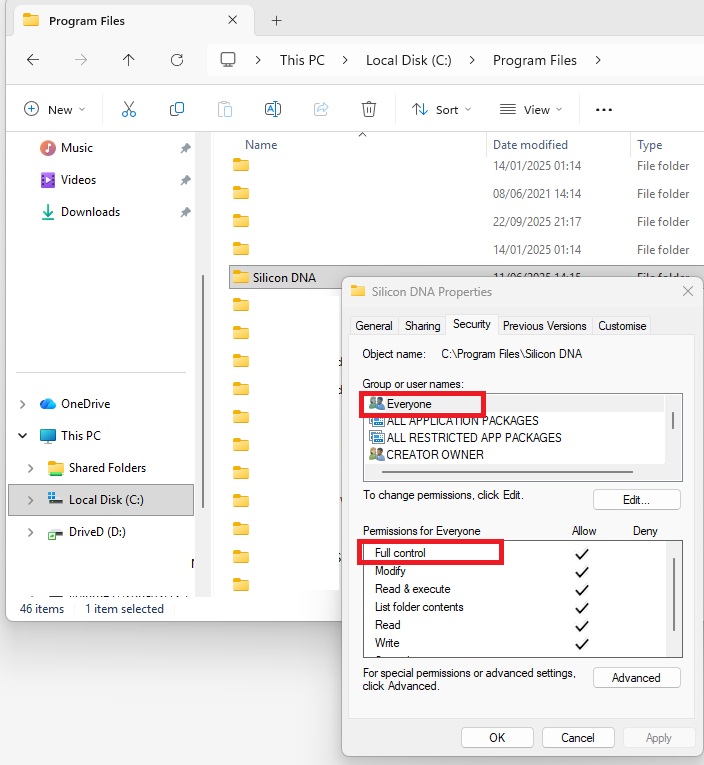
Optional : You can grant full access to everyone for the “C:\Program Files\Silicon DNA” folder. This will make it easier to perform a DeMaSy upgrade.