
To install a new Data Source follow the procedure below:
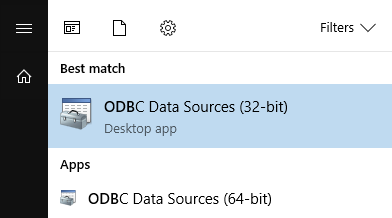
- Locate the ODBC Data Source Administrator clicking on the Windows Start menu and typing ODBC . You should see the following:
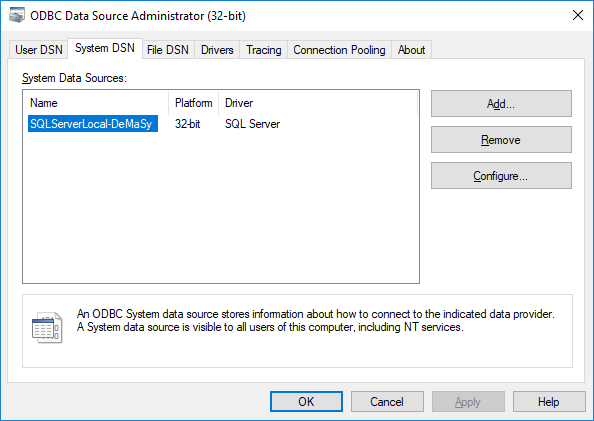
- Double-click on the ODBC Data Sources (32-bit) to launch the ODBC Data Source Administrator and go to the System DSN tab:
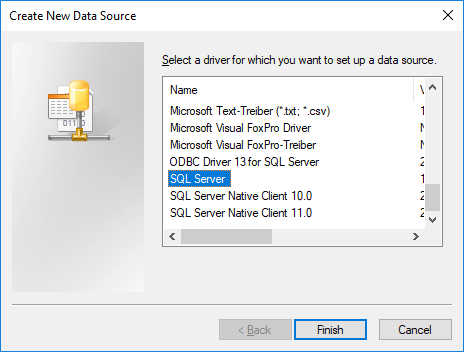
- Click on the Add button, choose the SQL Server driver and click on the Finish button:
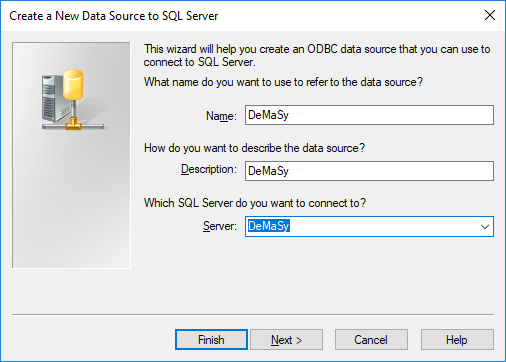
- On the screen below give a Name, a Description and choose the SQL server you use: (*Go to the end of the document for the default values)
- Clicking on the Next button displays the Authentication screen where you will choose the authentication method to use:
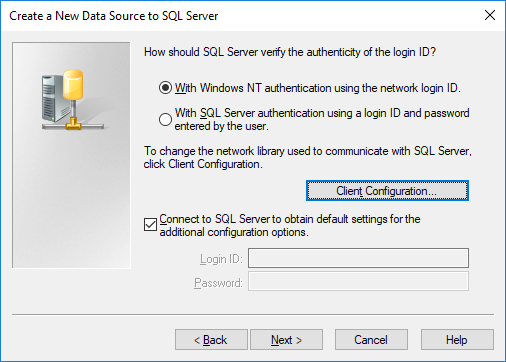
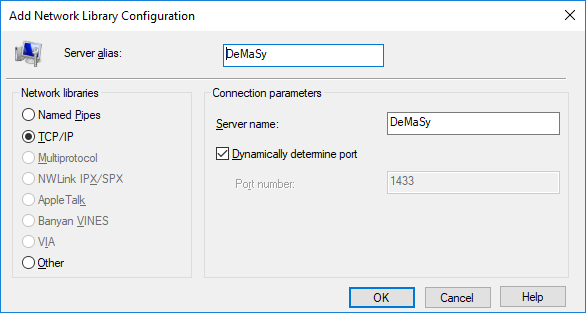
- If you want to change the network library used to communicate with SQL Server click on the Client Configuration button:
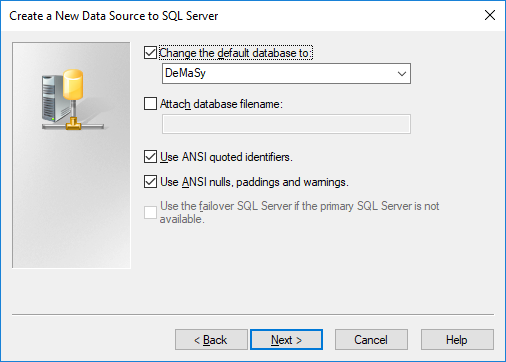
- Now go back to the Authentication screen and click on the Next button so the following screen is displayed where you can select the default database.
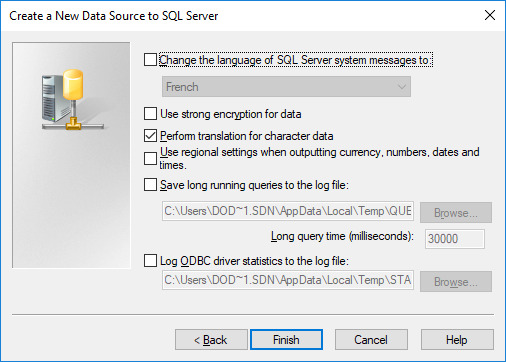
- Clicking on the Next button displays the following screen where you can select some options – language, encryption, log files:
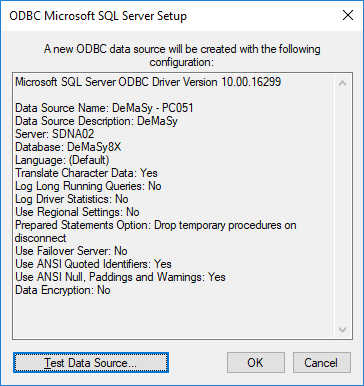
- Then a screen is displayed with a summary of the previously selected parameters:
- You can now test the created data source. If the test is successful the screen below is displayed:

- You have to do all the procedure a second time for the Licence Database.
- You can now close the ODBC administrator.
* By default at the installation the Name of the ODBC are : SQLServer-DeMaSy and SQLServer-Licence